Help / Creating Your First Animation
This tutorial will help you to learn how to create GIF animation from individual pictures (frames). To learn GIF animation basics, click here for other tutorial.
After you have created or got somewhere else two or more subsequent frames, it is time to put them together.
Step 1. Start Animation Wizard.
- Select the File -> Wizard...
 menu item to start Animation Wizard. Animation Wizard dialog will appear.
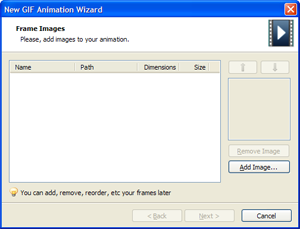
Step 2. Add Images.
- Click the Add Image... button to start adding images to your animation. Open dialog will appear.
- Navigate to the My Documents\GIF Animations\Samples\Clock folder.
- Select images clock1.gif, clock2.gif, ... ,clock12.gif and click Open.
- Repeat previous operation to add more images if necessary.
- Rearrange your images in the right order using
 and
and  buttons if necessary.
 - Click Next >
Step 3. Set Animation Parameters.
- Select Top left corner of the frame option and click Next >.
- Set frame delay value to 50 and loop count to "Play animation infinitely". Click Finish
Animation Wizard will create animation frames for you and load it into Advanced GIF Animator.
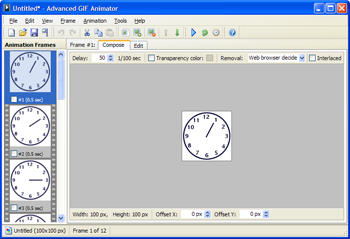
Step 4. Preview Animation.
- To preview the animation, click the Animate toolbar button, or Animation -> Animate menu item.

- To stop the animation, click the Stop toolbar button, or select Animation -> Stop menu item.

Want the clock ticking faster?
- Click the Frame Delay toolbar button, or select Animation -> Delay... menu item.

The Frame Delay dialog will appear. - Set Delay value to 25
- Select Apply to all frames option and click OK
Step 5. Save Animation.
- To save the animation, click the Save toolbar button, or select File -> Save menu item.

Resulting animation